
TOILET INSTALLATION – PART 2 – INSTALLING NEW ONE
Topics:
– Water tank installation
– Prepare the closet flange
– Set the toilet in place
– Finish the installation

HOW TO INSTALL NEW TOILET
So you have removed an old toilet and you have acquired a new one. If you are overwhelmed with task or you simply not feeling comfortable working with the plumbing tools and equipment leave it to professionals. SUPER MARIO PLUMBING Specialists can provide you with professional service regarding this and other plumbing jobs, call us we will be happy to help you or provide you with more information.
Water tank installation
Most of the water tanks come preassembled, but if you need to install fill valve and the flapper, follow the manufacturer instructions. Also, if not done by manufacturer insert bolts into inside bottom of the holding tank, these bolts will connect tank with the closet .

Install the rubber gasket on the outlet of the holding tank.
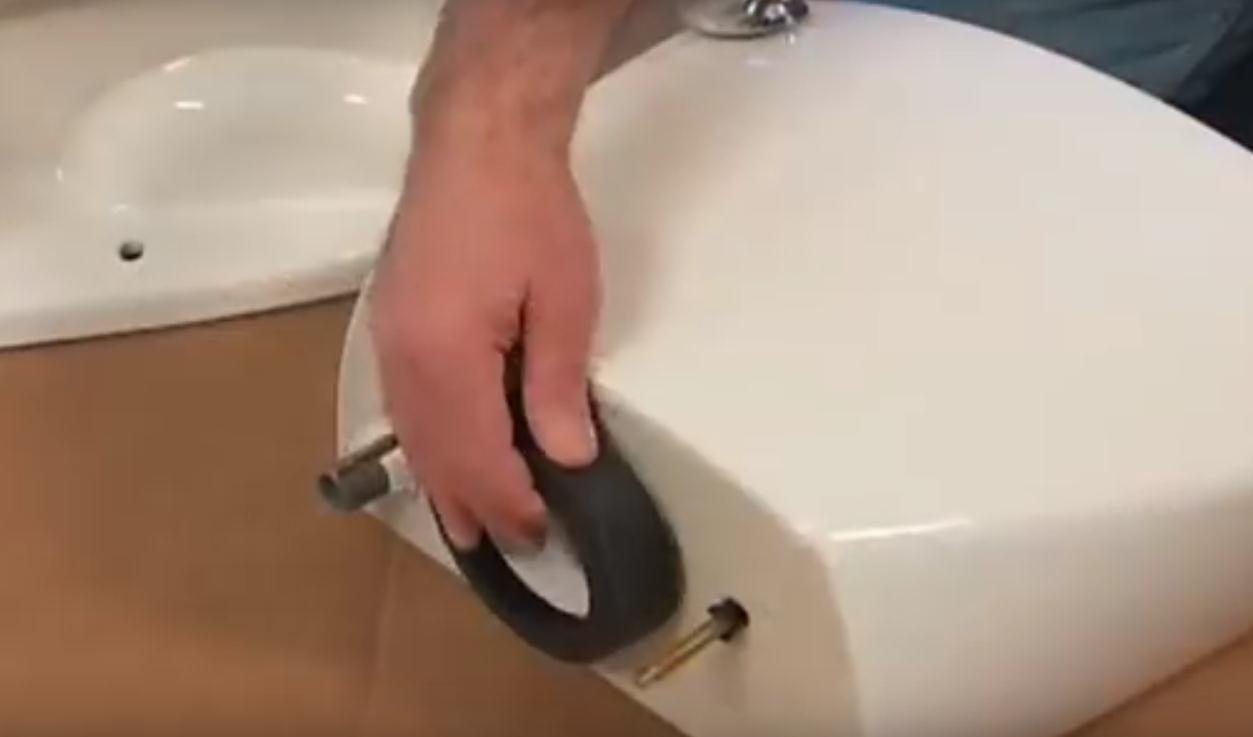
Set the tank in place.

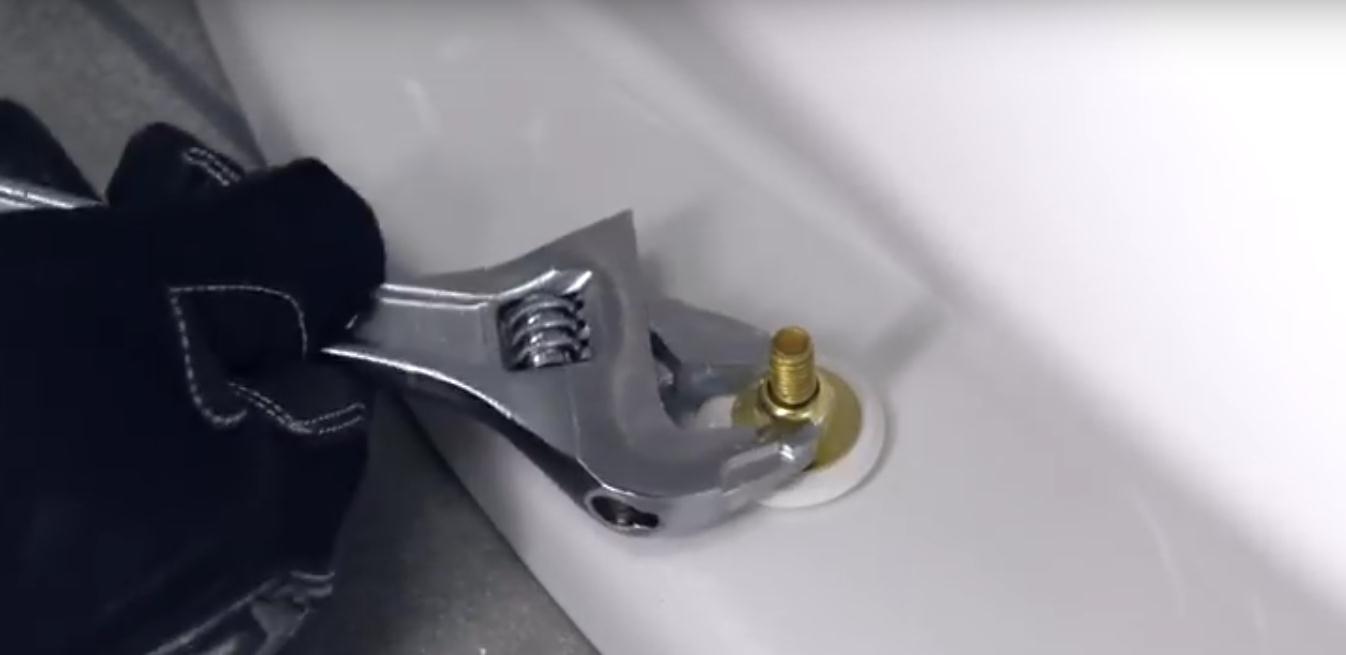
Secure the tank with nuts, on the bottom side of closet. Don’t tighen the bolts too tight because the ceramic can break.

Prepare the closet flange
Insert new closet bolts into the closet flange.

Remove the rag from the drain.

Apply new wax ring into the flange. If the wax ring is cold, let it worm up to room temperature, it is easier to work with when it’s warm. Make sure to center the ring on the flange.

Set the toilet in place
If you can, find someone to assist you to set the new toilet on the flange and the closet flange bolts. Make sure that bolts go thru the holes on the closet.

Try to keep the water tank parallel to the wall while gently pushing down a new toilet to seal the wax ring in place.

Tighten the closet flange bolts with nuts, but don’t tighten it too much, you can crack the closet. Alternate between each side while tightening bolt, in order to apply evenly across the base, in order to get good sealing.
Check the level of the holding tank and make small adjustments by screwing closet bolts or bolts holding tank and closet together. Be careful not to tighten it too much, remember it’s ceramic.

If the closet bolts are too long for the cups, carefully cut them with the saw to appropriate length/height.

Put on the cups.

Finish the installation
Install the toilet seat, following manufacturers instructions.

Connect the water supply hose to the rear of the toilet and turn on the water supply valve.

Flush the toilet a few times and check for leaks. Seal the base with silicone sealing.

Set the top on the tank.
