
Home Water Heater, the Forgotten Appliances
A water heater is among the appliances in our homes we rarely think about until there’s a problem. We figure, that everything is alright as long as the water heater provides hot water for laundry, the dishes plus for showers. Usually, when we have high energy bills we figure it’s the electric or gas companies who have increased their prices. This might not be so as it could be your water heater using more energy to heat water.
Your water heater undergoes more wear and tear than most other plumbing appliances. This is due to fact that it’s always running. Unless you filter your home’s water, it contains chemical compounds, minerals and sediments which speeds metal corrosion of your water heater’s tank. For the tank soaks water day and night.
Chemicals settle on the interior of your heater’s tank in form of a thick coating of slimy mud and rust, which reduces the efficiency of your water heater. Plus the metal is eaten away until it disastrously fails all over your carpet.
Although water heater maintenance is easy, a number of people do not know how to do it. You can maintain your heater by flushing the tank of sediments once after every 6 months. This adds years to your water heater. You will need the following equipment’s when flushing your heater:
- A pair of pliers
- Eye protection and
- Screwdriver
- A hose- a regular hose pipe can be used although, it’s better if you can purchase a dedicated hose. It is attached to the water heater, which you will need to unroll every time you want to drain it.
Steps To Follow When Draining Your Water Heater
-
Cut the power to your water heater
On your electrical service panel, locate and turn off the breaker of your water heater. This helps in preventing your heater to run as you flush water down the drain.
-
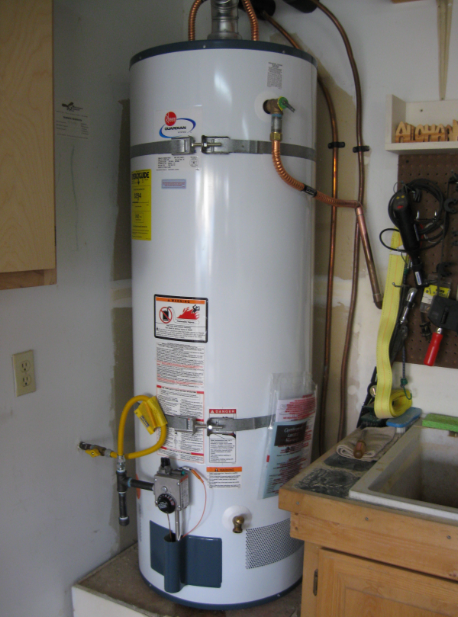
Locate the water heater’s drain.
It should be near the bottom of the tank plus it looks like a garden hose spigot.
-
Attach the hose to the water heater.
Ensure that you screw the hose all the way to the drain. This is because the water coming out will be full of sand and rust plus under pressure. Using pliers, tighten (do not over tighten) all the way to the bib to avoid any mess if the hose becomes loose.
-
Stick the hose outside your house.
Ensure the water you are draining does not create a mess somewhere else. Understand that you are removing months if not years of sediments and minerals build up. Therefore, you do not want it in your lawn.
-
Open the drain.
Depending on the brand that you have, since others have handles on their valves while others require a different tool. Open the drain valve slowly until you have a full flow.
-
Let it drain.
Let your water heater drain from 5 to 20 minutes, this is dependent on how long you took before flushing your system. You will see brownish water, flakes of scale, little stones made of mineral deposits and sand. When the water runs clear, then you are done.
In case you have to stop before your water is clear, don’t worry as the sediments will settle down the tank, giving you clean water.
-
Close the valve and put away your hose.
Here you are required to do as the step suggests.
-
Turn your water heater back on.
The drained water came from the supply line at the bottom; the hot water comes from the top of the tank, which was also flushed. Depending on the type and size of heater it could take an hour or two for your hot water to return to its normal temperature.
Regular flushing of your water heater is dependent on where you live plus how you get your water. This is because; sediments and mineral present in your water rely on these. To maintain your heater to work effectively and to last for longer period regular flushing is paramount.